• Save an Extra 5% at Checkout!
  • Free shipping over $199.95
0

Your Cart is Empty

Setting Up Your 3D Printer: A Beginner's Comprehensive Guide

March 27, 2024 3 min read

Setting Up Your 3D Printer: A Beginner's Comprehensive Guide

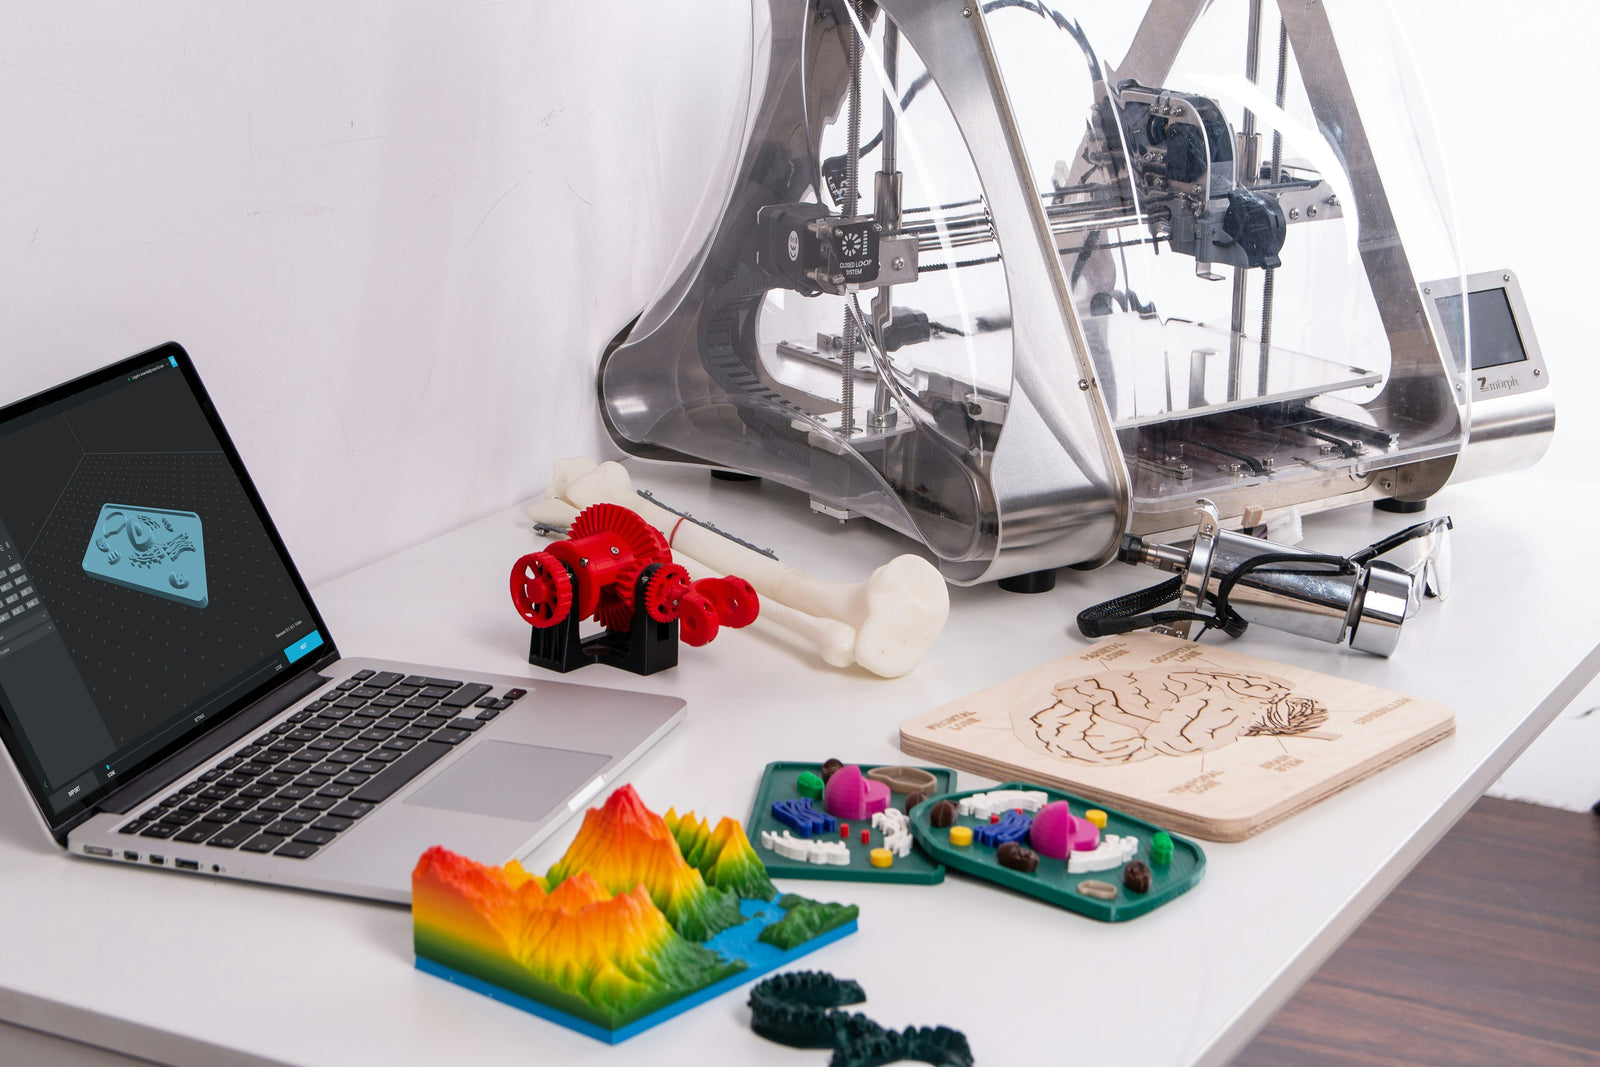
The world of 3D printing opens up a myriad of possibilities for hobbyists, designers, and makers. Whether you’re looking to prototype a product, create bespoke items, or simply explore your creative ideas, setting up your 3D printer correctly is the first step on this exciting journey. This guide covers everything from unpacking your first printer to avoiding common setup mistakes, with step-by-step instructions for several popular beginner models.

Unboxing and Assembly

1. Choose the Right Environment

First, ensure you have a stable, level surface in a well-ventilated area. Temperature fluctuations and drafts can affect printing quality, so it's essential to find a suitable spot for your printer.

2. Unbox with Care

Unboxing your printer carefully is crucial. Keep track of all parts and accessories. Most printers come with a manual; make sure to read it thoroughly before proceeding.

Step-by-Step Setup Guides

For the Creality Ender 3

  1. Frame Assembly: Start by assembling the frame. Ensure the main frame is upright and the bed is stable.
  2. Install the Power Supply: Secure the power supply unit to the frame, making sure it’s set to the correct voltage for your region.
  3. Assemble the Extruder: Attach the extruder to the carriage, ensuring it moves smoothly on the rails.
  4. Level the Bed: Manually move the print head to each corner, adjusting the bed level until the nozzle is the right distance from the bed across its entirety.
  5. Load the Filament: Insert the filament into the extruder and push it through until it comes out of the nozzle.
  6. First Print: Use a pre-sliced model to conduct your first print, checking for any issues in the print quality.

For the Anycubic i3 Mega

  1. Assemble the Frame: Connect the upper and lower parts of the frame using the provided screws.
  2. Connect the Cables: Pay close attention to the wiring; each connector is typically labeled and matches the port on the mainboard.
  3. Level the Bed: Anycubic i3 Mega features an assisted leveling process. Follow the on-screen instructions to level the bed correctly.
  4. Load the Filament: Heat the nozzle, then insert the filament into the filament sensor and down into the extruder.
  5. Test Print: Choose a test print from the included SD card to verify everything is set up correctly.

For the Prusa i3 MK3S

  1. Frame Assembly: The Prusa i3 MK3S comes semi-assembled. Complete the assembly by attaching the Y-axis to the frame.
  2. Check for Pre-assembled Parts: Ensure all pre-assembled parts are tight and correctly aligned.
  3. Calibrate the Printer: Run the XYZ calibration from the menu. This process can take some time but is crucial for achieving high-quality prints.
  4. Load the Filament: Insert the filament into the extruder until you feel resistance, then use the loader to push it through.
  5. Run a Test Print: Select a test print from the menu and watch closely to ensure the print adheres to the bed and the layers are even.

Common Setup Mistakes and How to Avoid Them

  • Ignoring the Manual: Each printer has its quirks. Skipping the manual is a surefire way to miss crucial steps.
  • Improper Bed Leveling: A level bed is critical. Revisit bed leveling tutorials if you're encountering issues with print adherence or quality.
  • Incorrect Temperature Settings: Filament type dictates temperature settings. Using the wrong temperature can lead to poor quality prints or extruder jams.
  • Tightening Screws Too Much or Too Little: Over-tightening can warp frames and parts, while under-tightening can lead to movement and misalignment during prints.
  • Neglecting Firmware Updates: Manufacturers often release firmware updates that fix bugs and improve performance. Regularly check for and apply these updates.

Setting up your 3D printer correctly sets the foundation for a rewarding printing experience. Take your time, follow the guides, and don’t be discouraged by initial hiccups. With patience and practice, you'll soon bring your 3D creations to life with ease.

View our guides