Your Cart is Empty
- Save 15% at Checkout
- Free shipping over $199.95 Contiguous U.S.

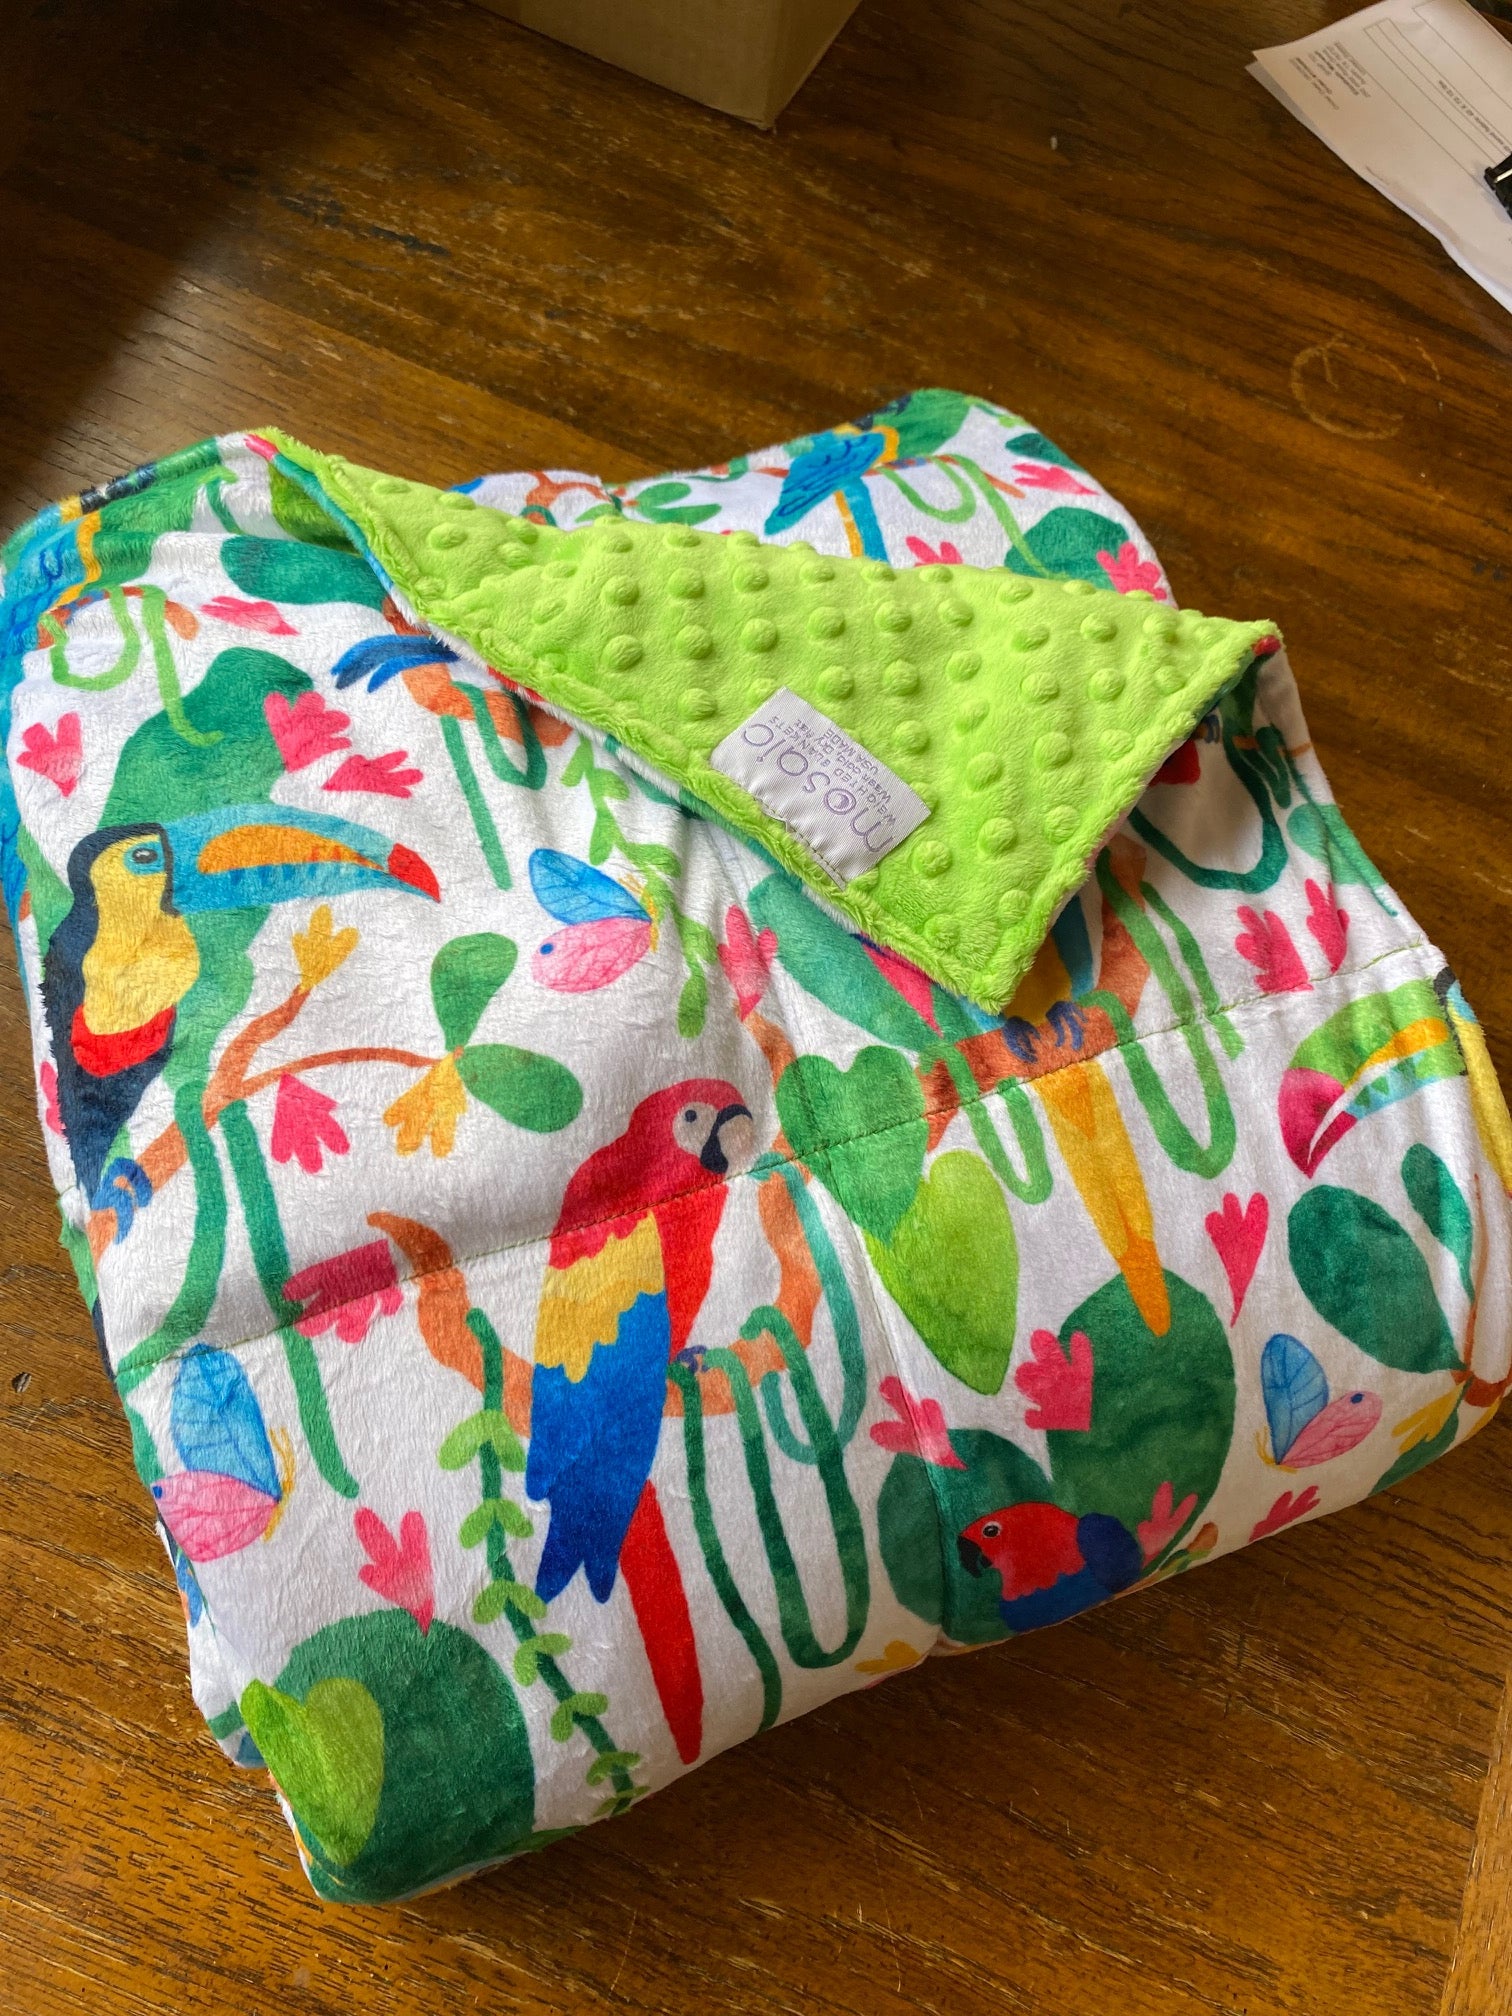
Ever wanted to make your own weighted blanket? The freedom or choosing your own fabric, weight and size. Do you want to try your hand and sewing machine at making a weighted blanket? We make it easy for you with this weighted blanket kit. Each packet contains 2 sides of a solid per cut fabric (you are welcome to pair it with a patterned fabric from your local fabric store) or have solid color on both sides. Pre chalked blankets for easy sewing of lines and pre measured plastic pellets. Feel free to use more or less weight/poly pellets for the person you are making it for. We recommend your weighted blanket being 5 to 10% of body weight.
(Twin) 42 inches X 72 inches - 20 lbs of plastic pellets
(Throws) 38 inches x 60 inches - 12 lbs of plastic pellets
(Kids) 38 inches X 50 inches - 10 lbs of plastic pellets
Making your own weighted blanket can seem a bit intimidating but it is actually quite simple. This would also make a really fun weekend project as well since it is a bit time consuming. This project does required intermediate sewing skills however.

- 2-3 yards for the Fabric of your choice
- Matching threads
- Poly fils
- Poly Pellets Click here to purchase pellet
Click here to shop for your D.I.Y Weighted Blankets Kit
- Tailors chalk
- Sewing Machine
- Scissors
- Ruler
- Kitchen Scale

(Kids) 38 inches X 50 inches
(Throws) 38 inches x 60 inches
(Twin) 42 inches X 72 inches
(Full) 54 inches X 75 inches
(Queen) 60 inches X 80 inches
(King) 76 inches X 80 inches
Inside of the fabric you’ll sew squares that will hold the weighted filler, kind of like a grid of rectangles essentially. That means the overall fabric measurements should be a multiple of your square size plus 2 inches for the edges.
Mark 2 inches in from each edge of the fabric top and bottom and the selvages. Then, mark a grid of squares based on the square size you chose. Sew a rolled hem that is 1 inch wide. Make a small top stitch on the very outer edges of the hem Leave the top and bottom open.
Sew all the vertical channels on the marked lines. Starting at the bottom edge, begin your stitching and be sure to backstitch at the beginning and end. When sewing these lines, it's helpful to start at the center and then sew the next lines near the center of those sections and so on. Working this way helps to prevent the sewing from getting off track and the fabric from bunching.
Fill a Vertical Channel With Weighted Stuffing Beads. Place a measured scoop of filler beads in a vertical channel. Remember that the scoop should hold the correct weight based on the number of squares that will be in that channel.
Shake the beads, so there is a level amount throughout the channel. Depending on the fabric, some beads might stick in the channels (flannel tends to stick a lot), but don't worry about that too much.
You don't want to accidentally sew over one of the beads, as it might break your needle.
Sew the marked horizontal line. It's helpful to start at the center and then sew the next lines near the center of those sections and so on. Your stitching just over the inner topstitching on the other side, and be sure to backstitch at the beginning and end. As you sew support the weight of the blanket, so it doesn't pull your stitches. Feel along the marked line as you go, and push any stray beads out of the way. If you meet any resistance when sewing, chances are a bead got in the way.
Then, repeat the process of adding filler to a vertical channel and sewing horizontally to close off the row of filled squares until all of the lines are stitched.
When you reach the top of the blanket, sew the last row of squares closed. Fold the edges of the open side in about 1 inch. Starting and ending where the topstitching ended on the sides, topstitch 1/4 inch from the edge.
All Done! Happy Sewing